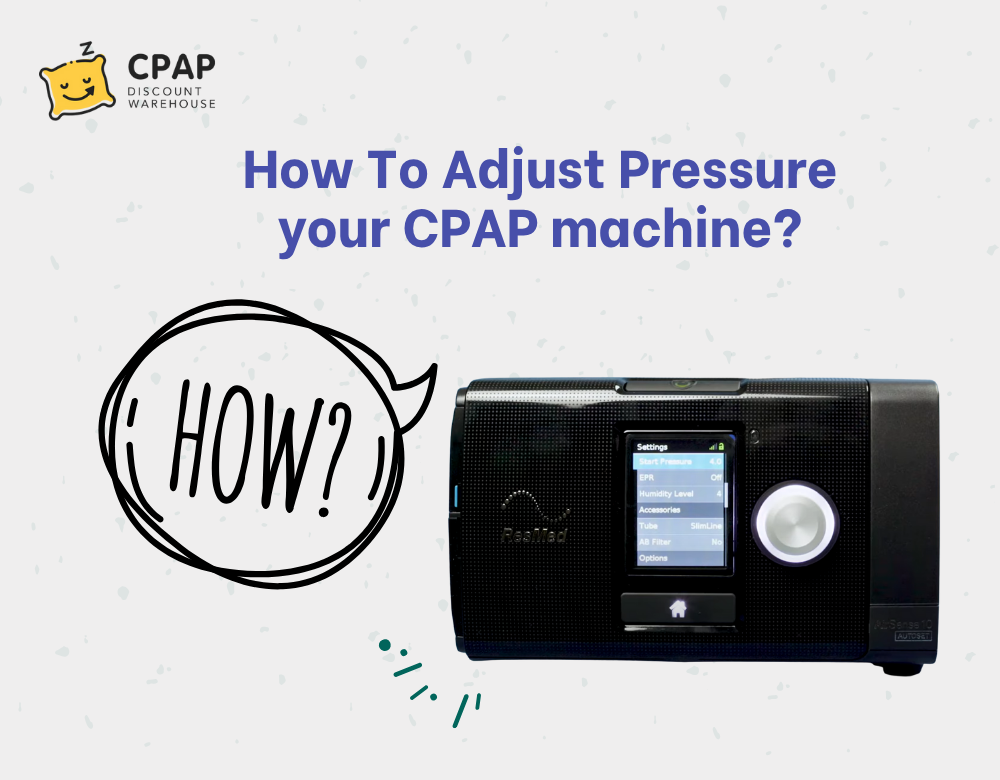
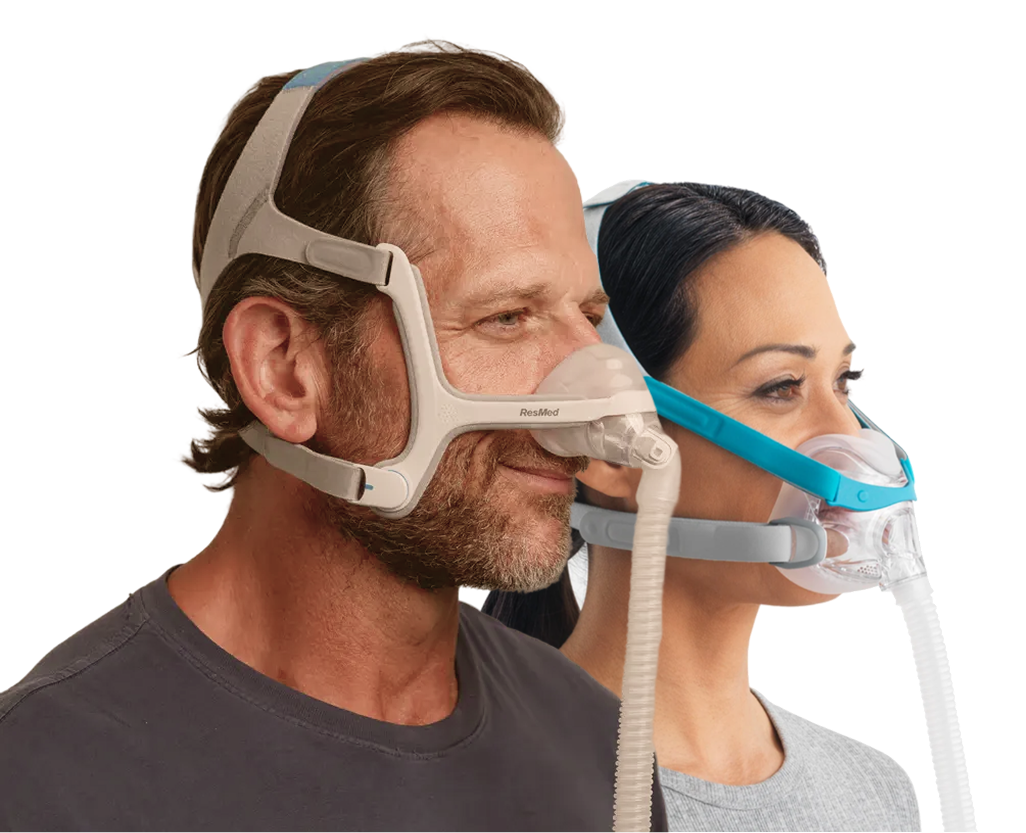
CPAP therapy has been proven to treat obstructive sleep apnea. It provides the airway with continuous healthy flow of air by keeping the airway in a normal open position during sleeping hours. This should be accompanied by proper CPAP pressure settings for effective and comfortable therapy. Users get confused about how CPAP pressure works hence they do not get good sleep and even reduce the results of their treatment. Because each person’s needs are different, personalized pressure settings are key to successful therapy with CPAP Discount Warehouse.
What Do CPAP Pressure Settings Mean?
CPAP pressure settings refer to the level of air pressure a CPAP machine delivers to keep the airway open during sleep. It is measured in centimeters of water (cmH₂O) and is essentially important in maintaining the patency of the airways which collapse predominantly leading to obstructive sleep apnea. Without appropriate CPAP pressure settings the therapy can turn out to be uncomfortably and ineffective.
The pressure required varies from person to person. Factors such as airway anatomy, sleep position, body weight, and the severity of sleep apnea all influence the ideal setting. Because of these differences, setting CPAP pressure must be personalized for each user.
Auto CPAP pressure settings offer a flexible solution by automatically adjusting the pressure throughout the night. The force needed changes with each individual. These devices react immediately to breath variations, raising pressure when blockages are noticed and reducing it when breathing returns to normal. While auto CPAP settings offer more comfort for many users, especially those needing different pressures, they do not suit everyone. It is important to consult a healthcare provider or sleep specialist before choosing between fixed and auto CPAP machine pressure settings.

Factors That Influence Your Ideal CPAP Pressure
Several key factors affect how CPAP pressure settings should be adjusted to ensure effective and comfortable therapy:
-
Anatomical factors: Narrow airways, enlarged tonsils, or a thick neck can increase resistance, requiring higher CPAP machine pressure settings to keep the airway open.
-
Deviated septum: A misaligned nasal septum can obstruct airflow through the nose, often resulting in the need for higher pressure to maintain effective therapy.
-
Body mass index (BMI): Individuals with a higher BMI usually have more soft tissue around the neck and airway, which increases the risk of airway collapse during sleep and may require a higher pressure setting.
-
Nasal allergies: Allergic reactions can cause swelling or congestion in the nasal passages, leading to restricted airflow and the need to adjust CPAP pressure settings accordingly.
-
Sleep position: Sleeping on the back increases the chance of airway obstruction due to gravity, typically requiring higher pressure, while side sleeping often reduces this need.
How to Determine the Proper Pressure Setting for a CPAP Machine?
Choosing the correct CPAP pressure setting is essential for effective treatment of sleep apnea. The ideal pressure level is usually identified through a sleep study (polysomnography) or a home sleep test, often followed by a titration study where different pressure levels are tested. In some cases, auto CPAP machines can help identify the right range based on nightly breathing patterns. Your healthcare provider will use this data to set CPAP pressure accurately and ensure long-term comfort and effectiveness. Below are common CPAP pressure settings based on the severity of OSA:
-
CPAP pressure setting for mild sleep apnea: Most people with mild OSA respond well to a CPAP pressure setting of around 8 cmH₂O. This is often considered a starting point and may vary depending on other factors like body weight or sleep position.
-
CPAP pressure setting for moderate sleep apnea: Moderate cases typically require a pressure setting between 9 and 12 cmH₂O. This range helps eliminate more frequent apnea events and reduce daytime sleepiness.
-
CPAP pressure setting for severe sleep apnea: Severe OSA may need a CPAP pressure setting from 13 to 20 cmH₂O. At higher pressures, additional comfort features like humidification or a BiPAP machine may be recommended to ease exhalation and improve adherence.
These recommendations are general guidelines. Your sleep technician or healthcare provider will determine the most effective CPAP pressure settings based on your specific sleep test results and symptoms.

What Is the Average Pressure Setting for a CPAP Machine?
CPAP pressure settings average for most users falls around 10 cmH₂O, which is typically effective for treating mild to moderate obstructive sleep apnea. However, each person’s needs are different, and the ideal setting depends on factors such as apnea severity, airway structure, weight, and sleep habits.
-
Normal CPAP pressure range: Most CPAP machines are designed to deliver air pressure between 4 and 20 cmH₂O. Settings below 6 cmH₂O may be too low to prevent airway collapse, while settings above 15 cmH₂O are generally used for severe apnea or specific anatomical conditions.
-
CPAP pressure calculator: Online tools can provide an estimated pressure setting based on basic information like age, BMI, and apnea severity. While useful for reference, these calculators are not a substitute for a professional sleep study or consultation.
-
CPAP pressure settings chart:
|
Level of Sleep Apnea |
Suggested Pressure Range (cmH₂O) |
|
Mild |
6 – 9 |
|
Moderate |
9 – 12 |
|
Severe |
13 – 20 |
These averages are only starting points. Your healthcare provider or sleep technician will adjust your CPAP pressure settings based on actual sleep data to ensure maximum comfort and treatment effectiveness.
Device-Specific Pressure Settings
How to Set Pressure on ResMed CPAP?
ResMed offers two of the most popular CPAP machines: the AirSense 10 and AirSense 11. While both allow users to adjust CPAP pressure settings, their interfaces are slightly different.
CPAP Pressure Settings ResMed AirSense 10
-
Access clinician mode: Press and hold the dial and Home button at the same time for a few seconds.
-
Adjust pressure: Use the dial to scroll through the menu, then select and adjust the fixed pressure or the auto pressure range (minimum and maximum).
-
Save settings: Press the dial again to confirm changes and exit clinician mode.
CPAP Pressure Settings ResMed AirSense 11
-
Access clinician mode: Tap and hold the My Options screen for a few seconds.
-
Navigate the menu: Scroll through the touchscreen interface to locate pressure settings.
-
Adjust pressure: Modify either fixed or auto pressure values based on your therapy needs.
-
Save and exit: Confirm your changes and return to the main screen.
Comparison Guide:
|
Feature |
AirSense 10 |
AirSense 11 |
|
Interface |
Dial + Buttons |
Touchscreen |
|
Clinician Mode Access |
Hold Dial + Home Button |
Hold My Options Screen |
|
Pressure Adjustment |
Manual and Auto |
Manual and Auto |
|
Mobile App Integration |
Limited |
MyAir App Supported |
Both devices are effective, but AirSense 11 offers a more modern experience and easier navigation.
>>> Resmed Airsense 11 Autoset reviews - Models & Features
How to Set the Pressure on a CPAP Machine?
Adjusting CPAP pressure settings should be done carefully and only when necessary. Here's how the process typically works:
-
Check your current setting: Access your machine’s display menu to view the current pressure setting under “Therapy” or “Settings.”
-
Consult a sleep technician: Always talk to your doctor or a certified sleep specialist before making any changes. Self-adjusting pressure without guidance may reduce treatment effectiveness or cause side effects.
-
Access the pressure settings: Enter clinician mode using the appropriate method for your machine.
-
Adjust pressure: Modify the fixed pressure or adjust the auto pressure range by 0.5–1 cmH₂O increments.
-
Save and lock: Confirm changes and exit the menu to lock in your new settings.
Standard CPAP Settings:
-
Fixed pressure: 6–10 cmH₂O (typical starting range)
-
Auto CPAP range: 4–20 cmH₂O
-
Ramp time: 15–30 minutes to gradually reach prescribed pressure
-
Humidification: Optional but often recommended for comfort
Always follow professional advice to ensure your CPAP pressure settings are safe and optimized for your therapy goals.
Signs Your CPAP Pressure May Be Too High or Too Low
Using the wrong CPAP pressure setting can lead to uncomfortable side effects and reduce the effectiveness of your sleep apnea therapy. It’s important to recognize the warning signs that your pressure may need adjustment.
Signs your CPAP pressure may be too high:
-
Difficulty exhaling against the airflow
-
Dry mouth, sore throat, or nasal congestion
-
Frequent awakenings or disturbed sleep
-
Bloating or gas (aerophagia) from swallowing air
-
Feeling tired despite using the CPAP regularly
Signs your CPAP pressure may be too low:
-
Ongoing snoring during CPAP use
-
Morning headaches and daytime fatigue
-
Frequent apnea or hypopnea events still occurring
-
Restless sleep or waking up gasping for air
-
Poor therapy results shown in CPAP usage reports
If you notice any of these symptoms, consult your sleep specialist to review your current settings. A sleep study or device data may help identify whether your CPAP machine pressure settings need to be increased or reduced.
What Is the Highest CPAP Pressure Setting?
Most standard CPAP machines have a maximum pressure setting of 20 cmH₂O. However, some specialized devices such as BiPAP or ASV machines can go up to 25 cmH₂O or more. Pressures this high are typically used for patients with severe obstructive sleep apnea or complex breathing sleep disorders and must be prescribed and monitored by a sleep physician.
Using pressure settings that are too high without medical supervision can lead to discomfort, poor adherence, and even complications like central sleep apnea. Always let a professional guide any changes to your therapy.
FAQs
Is it illegal to change CPAP pressure?
It is not illegal to change your CPAP pressure settings, but it is strongly discouraged without medical supervision. Adjusting the pressure on your own can lead to ineffective treatment or unwanted side effects. Most machines require access to a clinician mode for this reason, helping ensure that only trained professionals or those under medical guidance can make changes safely.
How to change CPAP pressure settings?
To change your CPAP pressure, you typically need to access the device’s clinician mode. This may involve pressing a combination of buttons (such as the dial and Home button on ResMed AirSense 10) or tapping and holding certain menus (on touchscreen models like AirSense 11). Once in clinician mode, navigate to the pressure settings and adjust the value in small increments usually 0.5 to 1 cmH₂O at a time. Always consult a sleep specialist before making any adjustments.
How do I know if my CPAP pressure is too high?
Common signs that your CPAP pressure may be too high include:
-
Feeling air pressure is overwhelming or hard to exhale against
-
Dry mouth, sore throat, or nasal irritation
-
Frequent awakenings during the night
-
Bloating, burping, or gas (aerophagia)
-
New or worsening central sleep apnea symptoms
Conclusion
Setting the right CPAP pressure is essential to getting the most out of your sleep apnea treatment. Whether you're using a fixed-pressure device or an Auto CPAP, it’s vital to personalize settings based on your condition, anatomy, and sleep habits.
Always consult with a sleep specialist or technician before changing your CPAP machine pressure settings. With the right guidance, you can ensure safe, effective, and restful CPAP therapy.


